
How to invite and manage your team
Use this guide to onboard new staff, assign them to clinic sites, and manage user permissions.
For a high-level explanation of team management, see About My Team.
Before you begin
Make sure:
- You have Admin or Owner access.
- You have the person's email address and their intended role (e.g., Receptionist).
- You know which locations and services they will be working in.
Step 1 — Invite a new team member
- Navigate to Settings > My Team.
- Click the Invite button (top right).
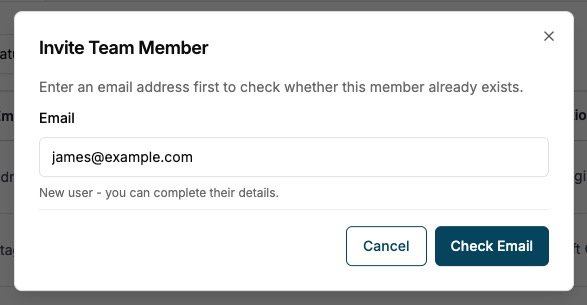
- Validate the email address — Enter the user's email. The system automatically checks if they have an existing account in the Cosmesoft network.
- Enter personal details — If the user is new to the platform, a registration modal will open. Fill in their Full Name and contact information.
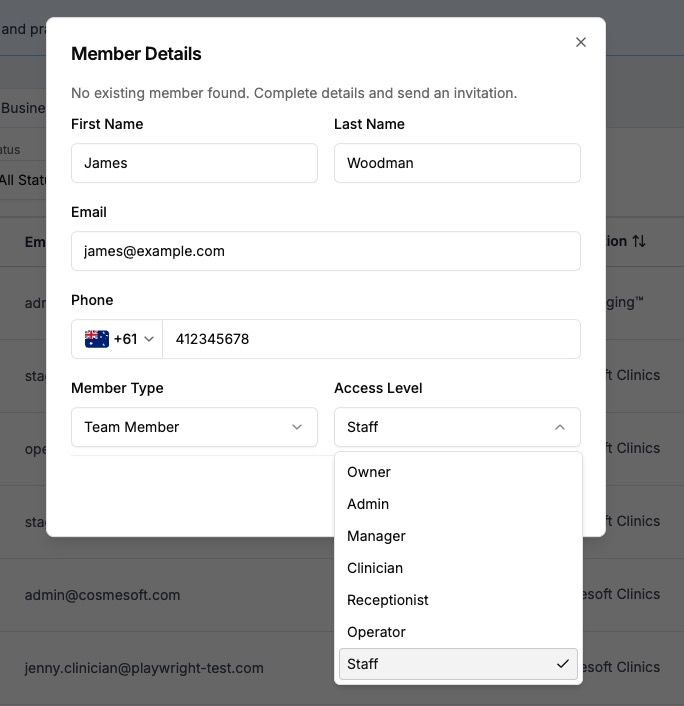
- Select the Member Type:
- Internal — For full-time or part-time staff who work exclusively for your business.
- External — For contractors or specialists shared with other organisations.
- Assign an Initial Role and click Invite.
- Note: The member will receive an email to activate their account and set their password.
Step 2 — Manage Roles and Permissions
- Select the team member from the My Team list to open their profile.
- Update the Primary Role — Use the Role dropdown menu to assign a baseline level of access. For example, change a user from Receptionist to Admin to grant broader system-wide management rights.
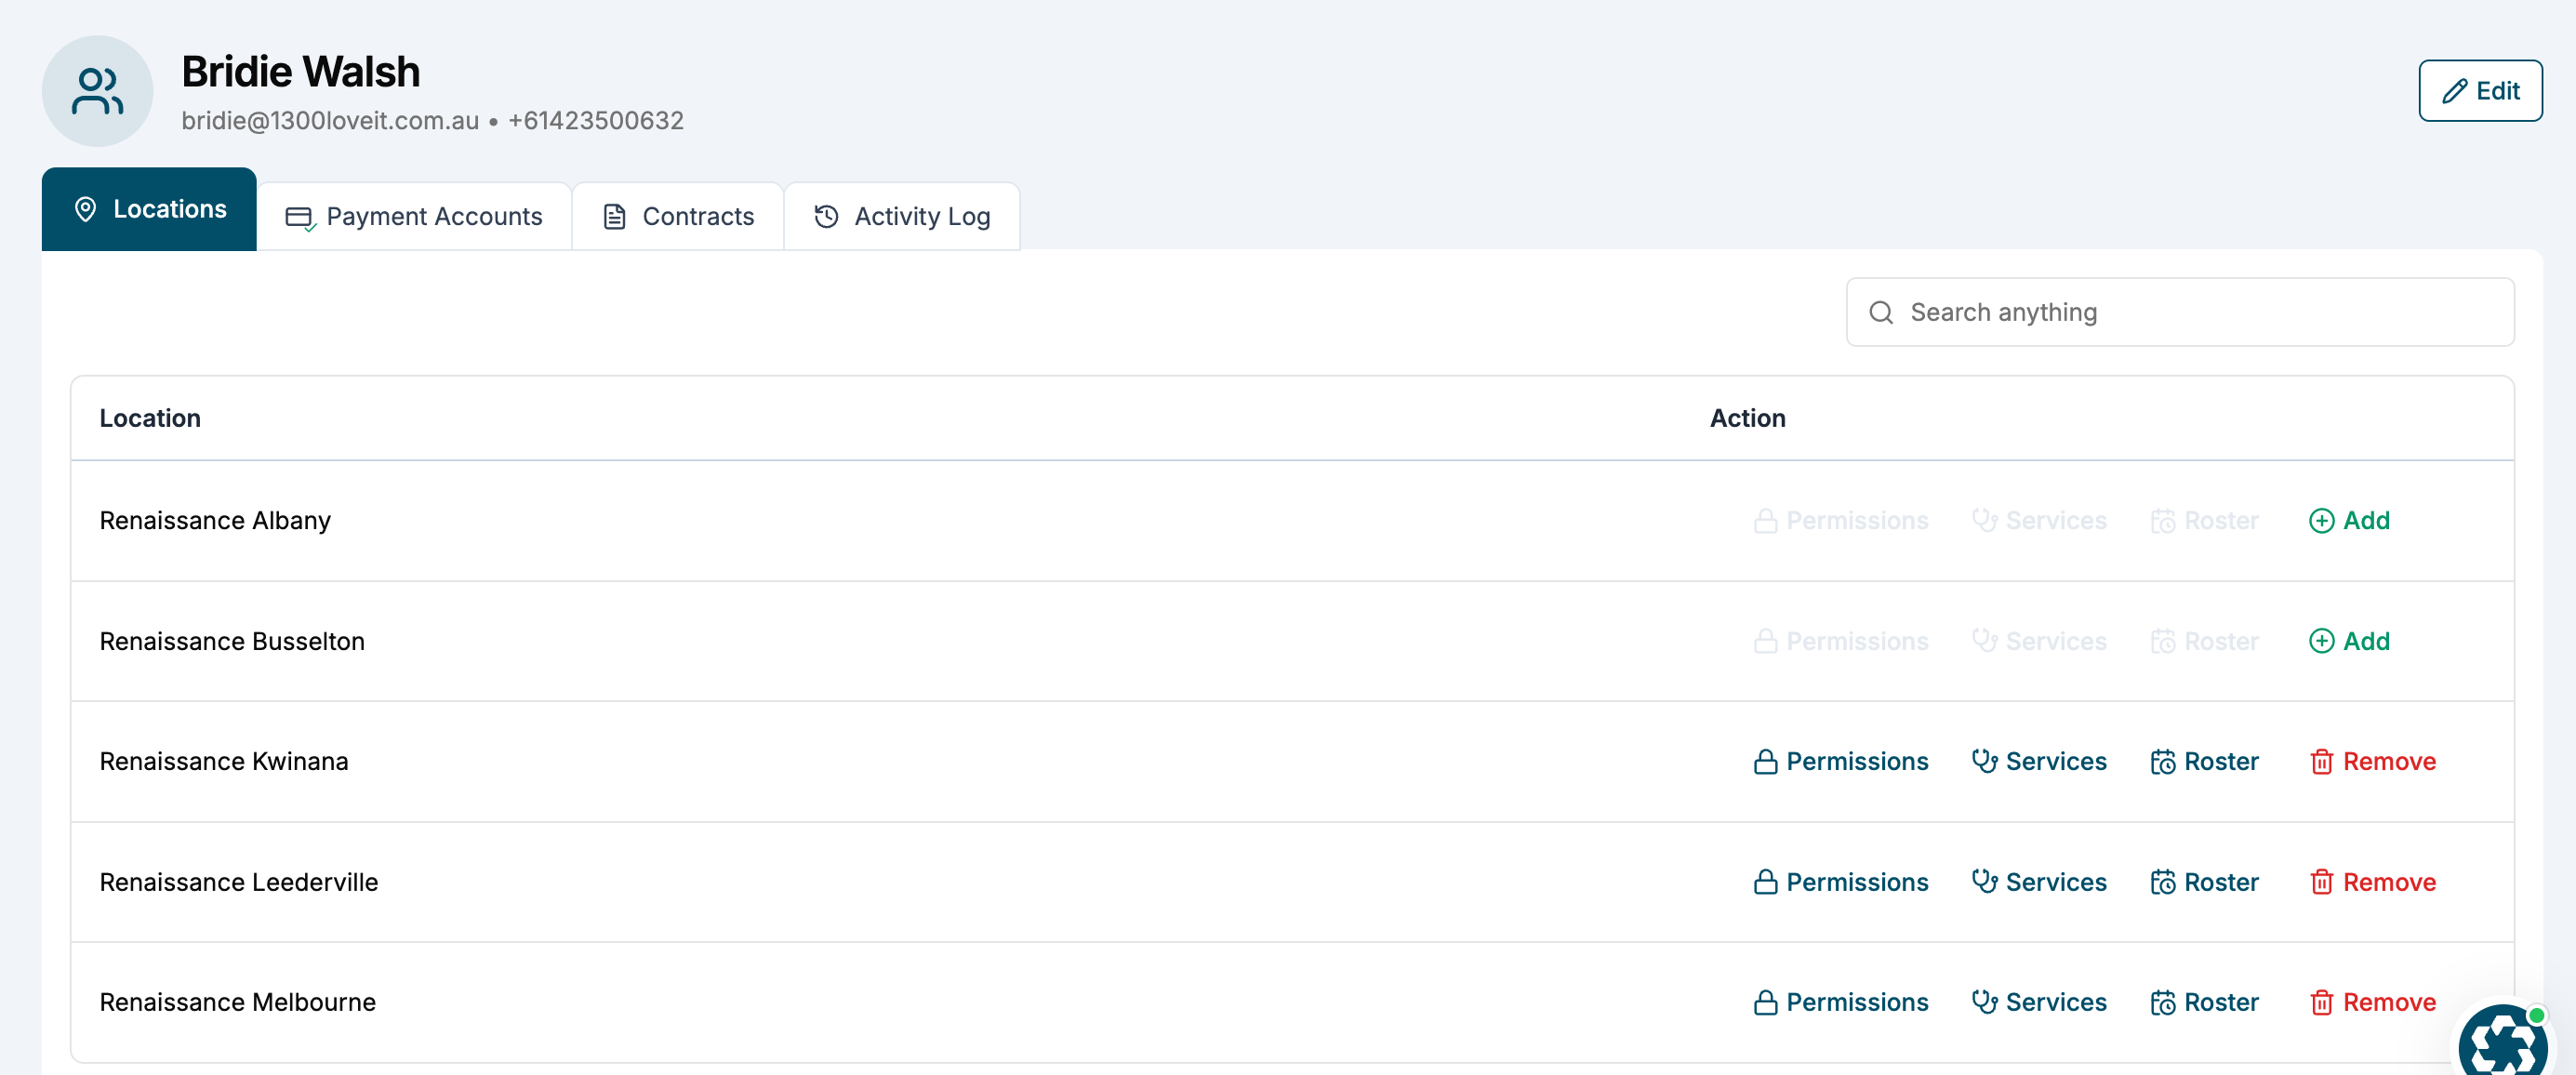
- Customise Location Permissions — In the team list, click the Permissions button next to a member's assigned location. A slide-out panel will appear, allowing you to fine-tune individual access for that specific site. Use the toggles to enable or disable capabilities such as View Financial Reports, Edit Products, or Access Clinical Notes.
- Click Save Changes.
Step 3 — Assign Locations and Services
Staff must be assigned to locations before they appear on calendars.
- Find the team member in the list and click the Actions menu (three dots).
- Choose Manage Locations to enable the specific clinic sites where they work.
- Choose Manage Services to define which treatments they can perform at each site.
- Click Save Changes.
Step 4 — Track status and deactivate
- Use the Invited, Active, and Inactive tabs on the dashboard to monitor your staff lifecycle.
- Resend Invite — Use the actions menu if a member hasn't received their activation email.
- Deactivate — To revoke a member's access, open their profile and set their status to Inactive.
What to do next
- Learn how to manage staff rosters.
Last updated: 9/5/26, 12:49 AM