
Business Locations
Easily register and manage your business locations using the Locations feature in Cosmesoft. This tool allows you to configure key settings, ensure operational consistency, and tailor preferences for each individual site.
With the Locations feature, you can:
- Add and manage multiple trading locations
- Set physical address, phone number and business hours
- Enable online booking and configure booking rules
- Setup deposit requirements for the location
- Adjust SMS and Email Booking reminders
- Set up Public Holidays to block out non-working days automatically
Each "Location" represents a physical or operational site where your business operates. Whether you're managing one clinic or several, this feature ensures each location runs smoothly with settings tailored to its unique needs.
Permissions Required
To set up and manage locations, the following permissions are necessary:
- Account/Staff/Access: Requires "Location Edit" permissions (default setting for Managers and Admin only).
Adding a New Location
To register a new business location in Cosmesoft:
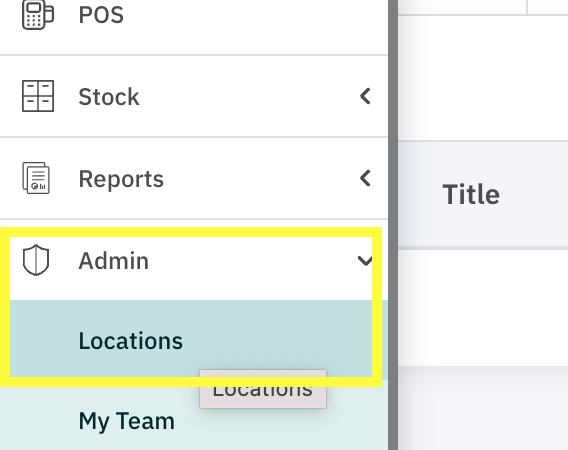
- Navigate to Admin > Locations
- Click Add Location
- The Locations setup is divided into three tabs:
Location Details, Online Booking, and Opening Hours
1. Location Details Tab
- Complete the following fields:
- Location Name
- Phone Number
- Email Address
- Physical Address - These details appear on your online booking site, receipts, and other client-facing materials. Ensure they are entered accurately!
- Click Save Changes before moving to the next tab.
2. Online Booking Tab
Online Booking:
- Tick Clients Can Book This Location Online to enable online bookings
- A unique online booking link will be displayed which you can copy and use for marketing or social media
- Select Restrict Online Bookings (optional) to prevent last-minute bookings by choosing to:
- Restrict bookings until the next business day, or
- Set a custom number of days in advance. - Leave unticked to allow same-day bookings
Deposits:
- Deposits can only be enabled once a Payment Account is set up in Account > Payment Accounts
- Once set up, tick Booking Deposit Required to apply deposits at this location.
- Enter the amount for the default deposit for the clinic. This amount will apply unless:
- A service has a custom deposit or set not to require deposits, or
- A practitioner has a custom deposit or set not to require deposits.
Booking Reminders:
- Enable both or either:
- Confirmation of Appointment, and
- Reminder of Appointment - Choose how many days before the appointment each message is sent
- Select the delivery method: SMS, Email, or both
- Click Save Changes before moving to the next tab.
3. Opening Hours Tab
- Select your Country and Timezone
- Set your standard Opening Hours for the location.
🕒 These hours define when you can roster operators. If you're unable to roster staff, double-check these hours first. - Tick Public Holidays to automatically block bookings and roster availability on public holidays for this location
- You can customise which holidays are observed and deselect any you'd like the clinic to remain open for
- Click Save Changes to complete the location setup
Editing Location Details
To update the details of an existing location, follow these steps:
- Go to Admin > Locations.
- Click Edit Location next to the desired business location. You can now edit all the information that was entered in the setup.
- Make any necessary changes and click Save Changes.

Once your location is set up, you can proceed to create operators and assign them to specific locations.
Related Topics:
<— PREVIOUS ARTICLE | NEXT ARTICLE—>